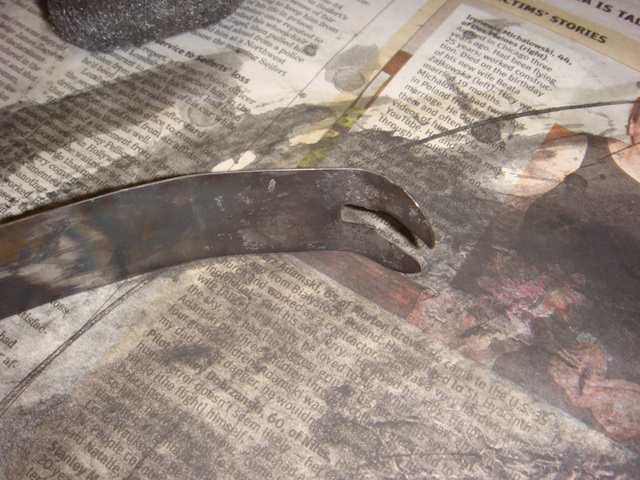
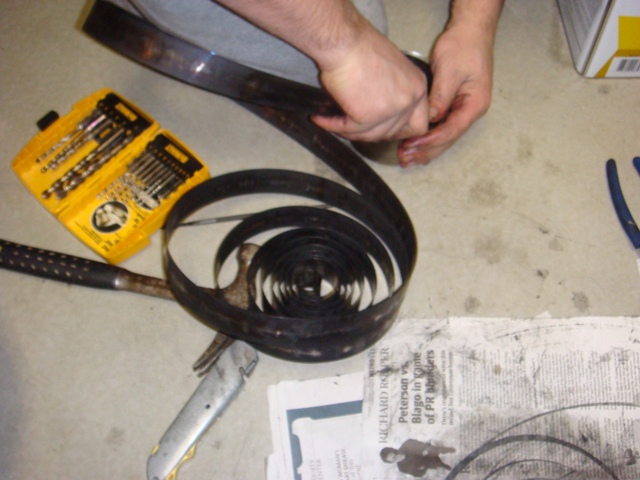
- You can see by the picture on the left what was wrong with our spring.
- Without being able to keep the end of the spring attached to the cylinder every time we wind it up it would just unwind.
- Sometimes it would have some tension and unwind after a few cranks making a clunking noise.
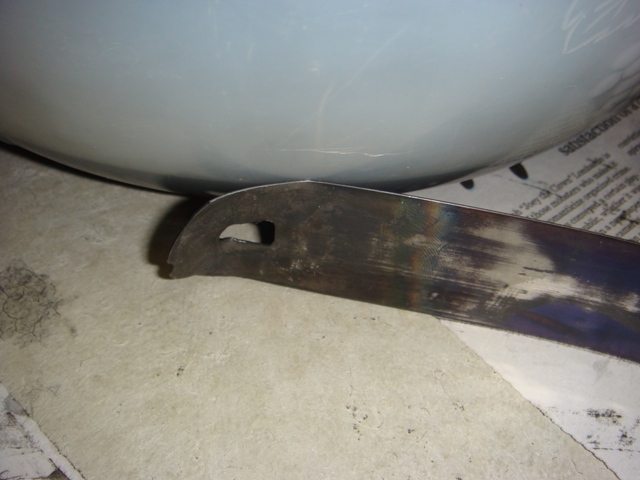
- This is how the spring should look.
- Cut the bad piece of spring off.
- Heat the new end of the spring with a torch until it gets red hot. (This will allow us to drill a new hole without it breaking again right away.
- Drill a bigger hole next to a little hole and then use a file to smooth the edges.
- This will allow the edge of the spring to fit over the rivet inside the cylinder and lock in place.
- Also round the edge as shown above.
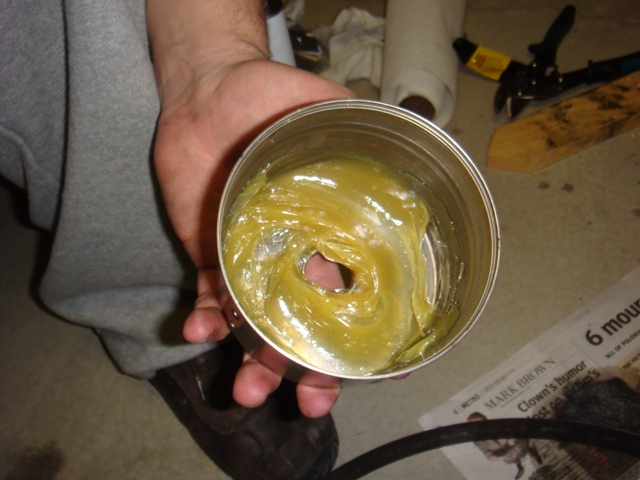
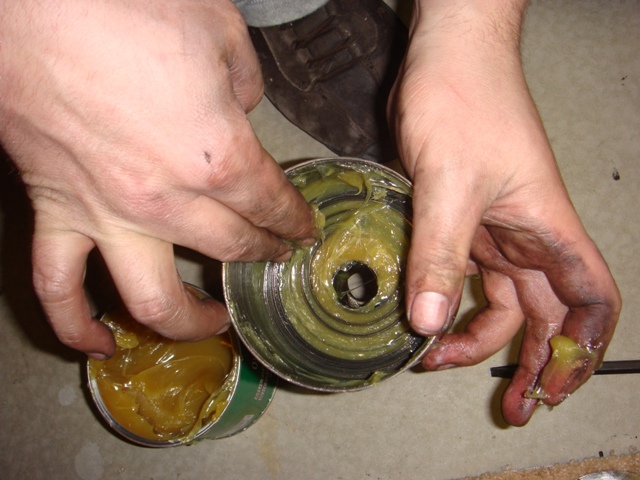
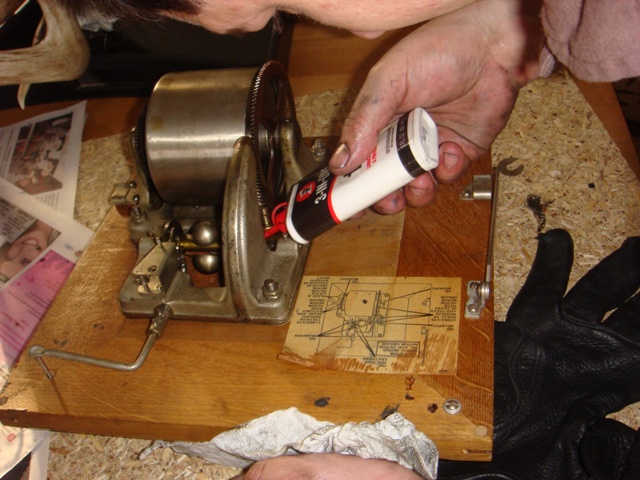
- Before replacing the spring coat the bottom of the cylinder in grease.
- We used Quaker state multipurpose grease and wheel bearing lubricant.
- Some recommendations were for petroleum jelly with graphite powder mixed in. 2 parts jelly for 1 part graphite.
- I personally don't think it really matters all that much what you use.
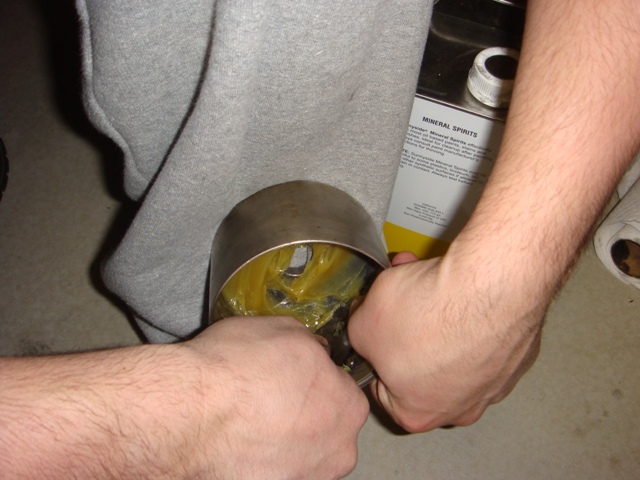
- Insert the spring and latch the end over the rivet inside the cylinder.
- BE SURE TO PUT IT IN WINDING THE CORRECT WAY.
- In our case the bottom spring was counter clockwise.
- Now wind the spring back up into the cylinder.
- Not too difficult, just takes patience.
- We tried to wind the spring up with one of the gears enough to just push it in, but that was painful and did not work, it was just too much pressure to get it wound tight enough.
- We recommend just taking your time and winding it back in by hand.
- Once the first spring is in, we applied more grease to the top of it.
- Now place the middle metal divider as shown.
- Now we are just repeating the same thing we did for the first spring.
- Grease up the metal divider before placing the last spring in.
- BE SURE TO WIND THE CORRECT WAY
- In our case the top spring was clockwise.
- Insert the spring and latch the end over the rivet inside the cylinder.
- BE SURE TO PUT IT IN WINDING THE CORRECT WAY.
- In our case the top spring was clockwise as in it started at the center and as you looked from center out it the coil went clockwise, hence in the video as we go outside in we are pushing counter clockwise.
- Once again wind it in by hand.
- Put grease on top of the spring again as shown.
- Push the lid on all the way down and wipe the grease away that comes up.
- Put the metal band around the top the same way it was when you took it off.
- The metal band may take some time to get back on.
- It probably took us about 3 minutes to get it by using a screw driver to pry it back into place so that the ends were not overlapping.
- I didn't film the entire section because as I said it took like 3 minutes.
- I'm sorry I didn't film us putting it all back together as I was excited to have this done and see if it would work.
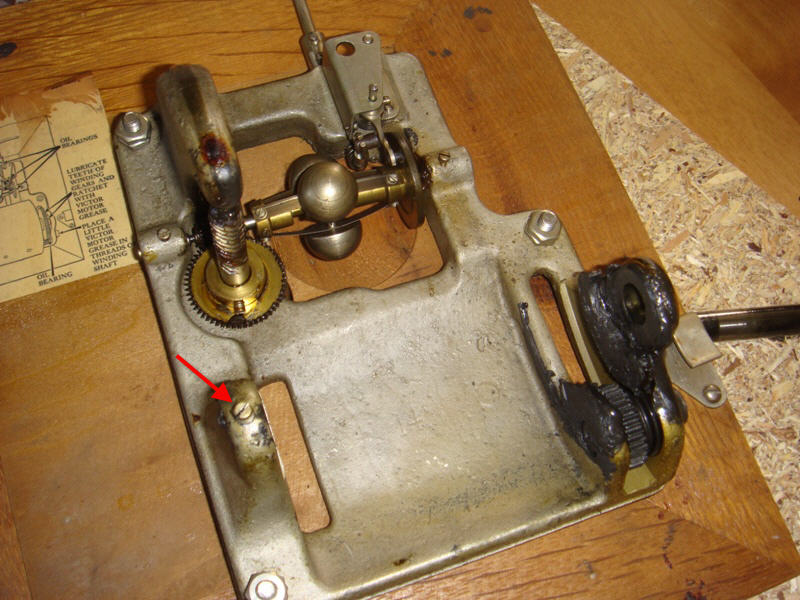
- What is missing is us placing the gears inside each end and reassembling the motor the same way we took it apart.
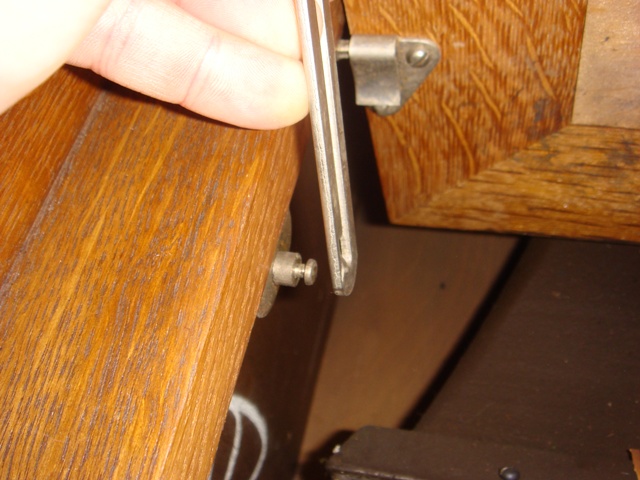
- The most difficult part (not very difficult) was getting the pin to line up with the little screw (Shown above.)
- This is the same picture I have on the disassembly page, but it's actually the finished product (just forgot to take pictures during disassembly)
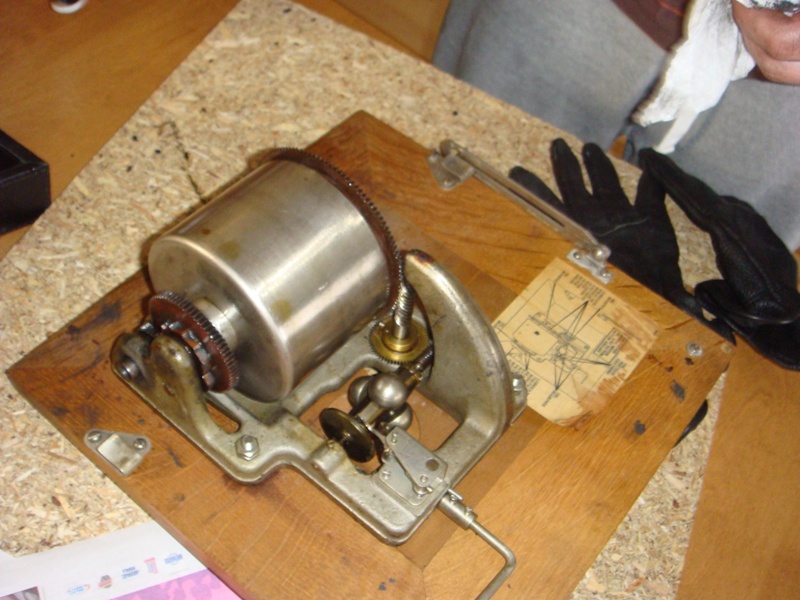
- Before replacing the motor back into the Victrola we put some 3 in 1 all purpose oil on the gears.
- A dab will do ya, so not too much (can't really over do it).
- Replace the motor in the Victrola the same way you took it out.
- Put the guide (pictured) on the track with the motor mounted on the two sides.
- Swing down the motor and replace the two front screws.
- Replace the turntable.
- Screw the crack back in and start winding.
- It may take a little while before you start getting some tension.
- We were worried at first because winding didn't seem to do anything, but after a while of winding the tension started to return.
- Throw a record on and enjoy.
- We love our beer barrel polka in Wisconsin!