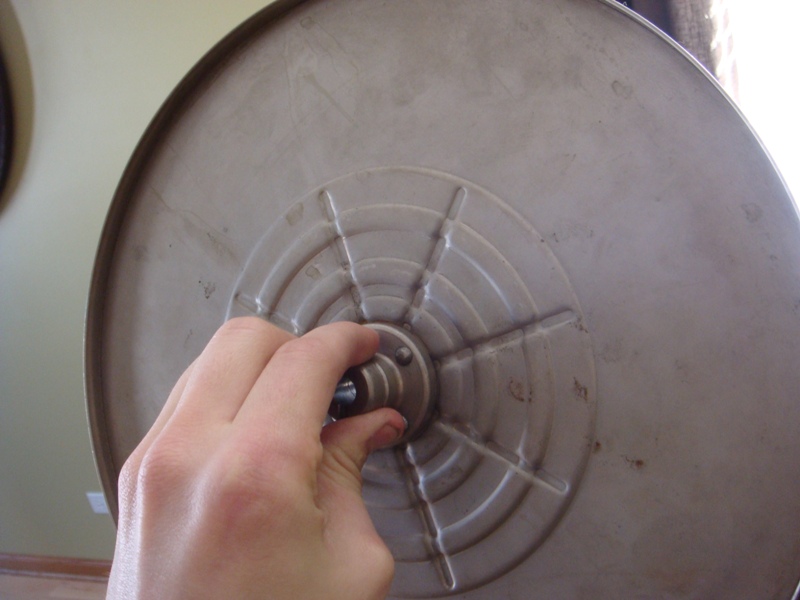
- Remove the crank by unscrewing it (turn opposite direction as winding)
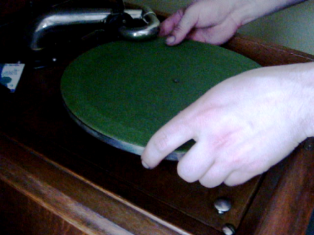
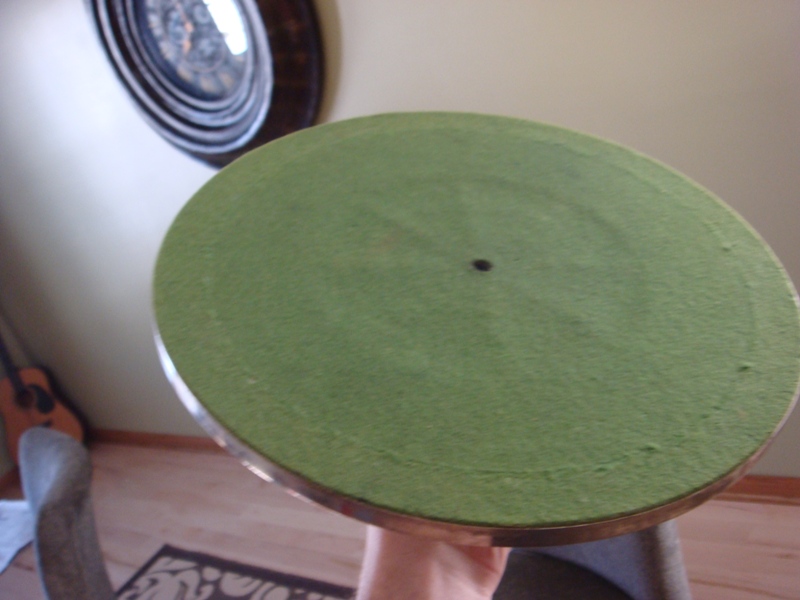
- Remove the turn table.
- Easy enough, just lift up and pull it off.
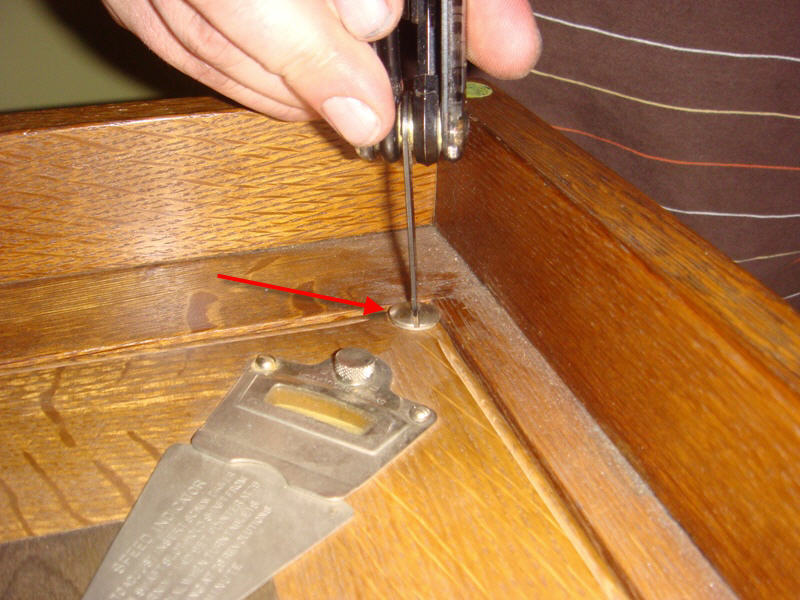
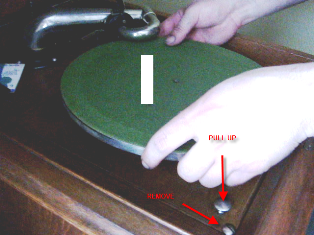
- Remove the two front screws (Front right screw is shown above)
- (Front left screw is shown above)
- Once the screws are removed pull up on the knob.
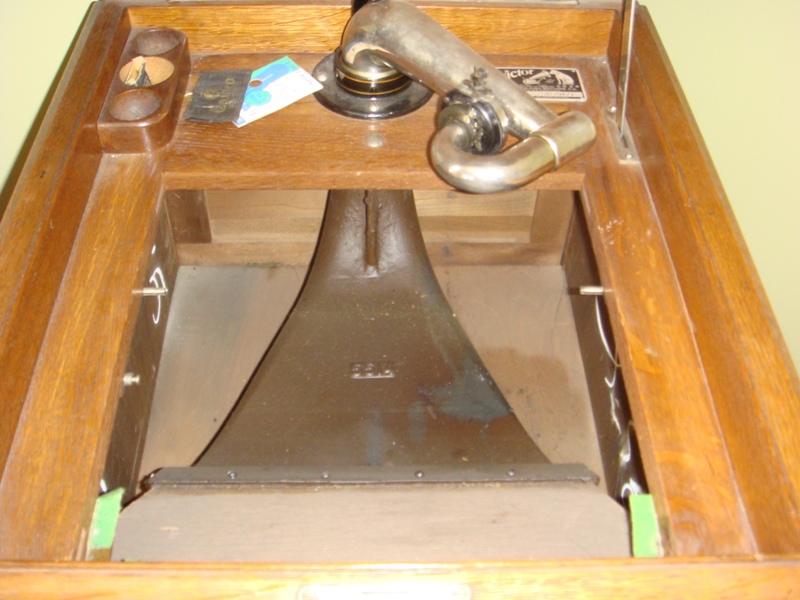
- The area where the turntable was should rotate with the front coming up.
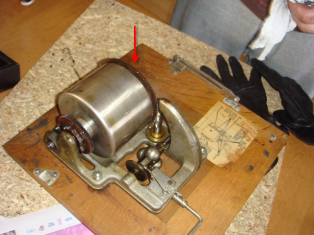
- Once rotated up, you should see the picture above.
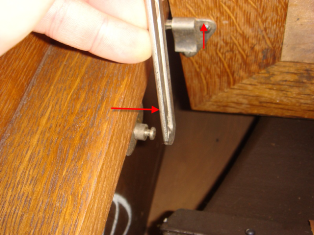
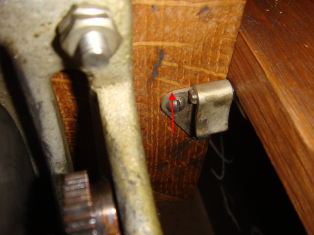
- To remove the motor push in on the guide to remove it from the pin in the direction of the arrow.
- then you can life up in the direction of the arrow on the whole box and pull out the motor.
- View of right site (life up in direction of the arrow)
- View of Victrola without motor.
- Place Victrola face down so you can view the motor.
- The Springs are encased inside the silver cylinder.
- The arrow points to a screw we need to loosen to remove the cylinder.
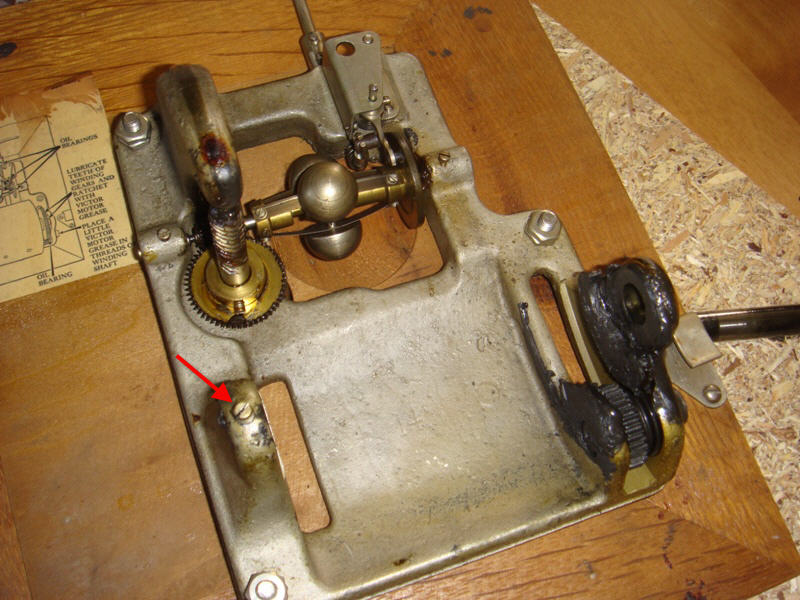
- Loosen this screw and then push the pin through the entire cylinder and gears. It may be a little difficult to remove, but it will come out.
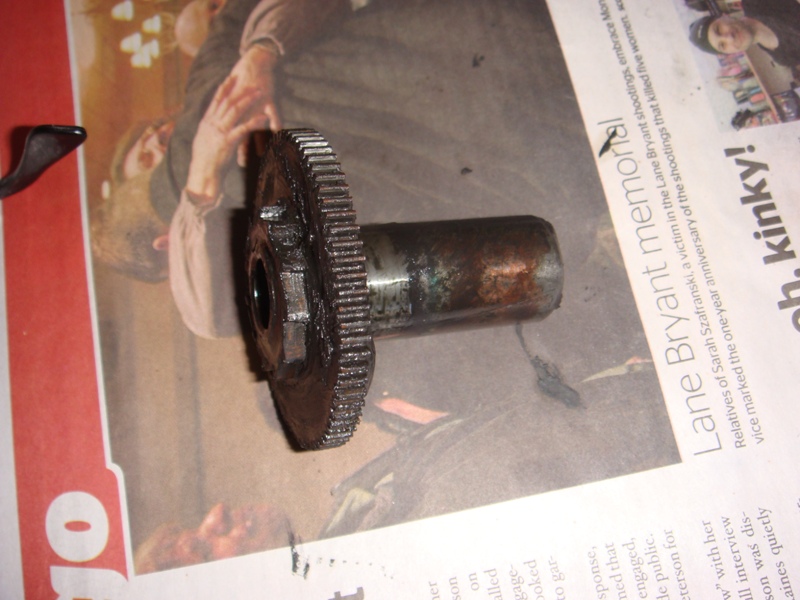
- With the center pin removed you can now pull the cylinder and two gears out of the motor.
- With the cylinder out of the motor, you should now be able to pull the two gears out from the ends of the cylinder.
- All these parts can be cleaned with paint thinner as well as the springs and other pieces.

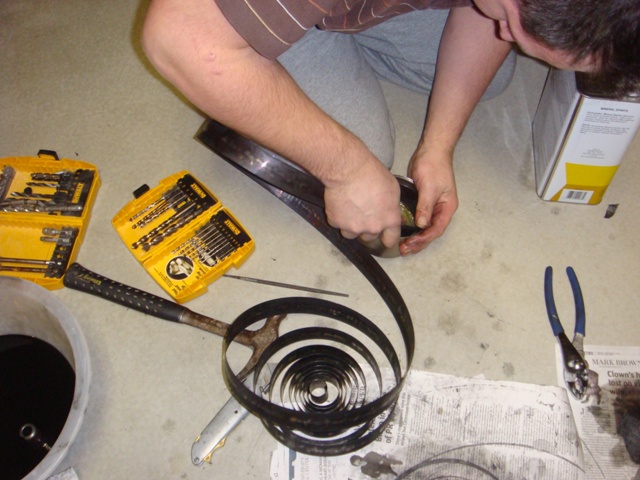
- The part that took us the most time to figure out was how to pull apart the spring cylinder.
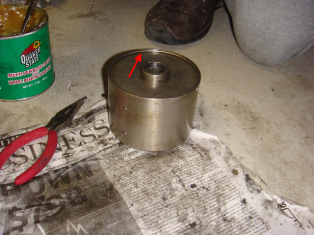
- If only we knew that it was a pretty simple band that held the lid on.
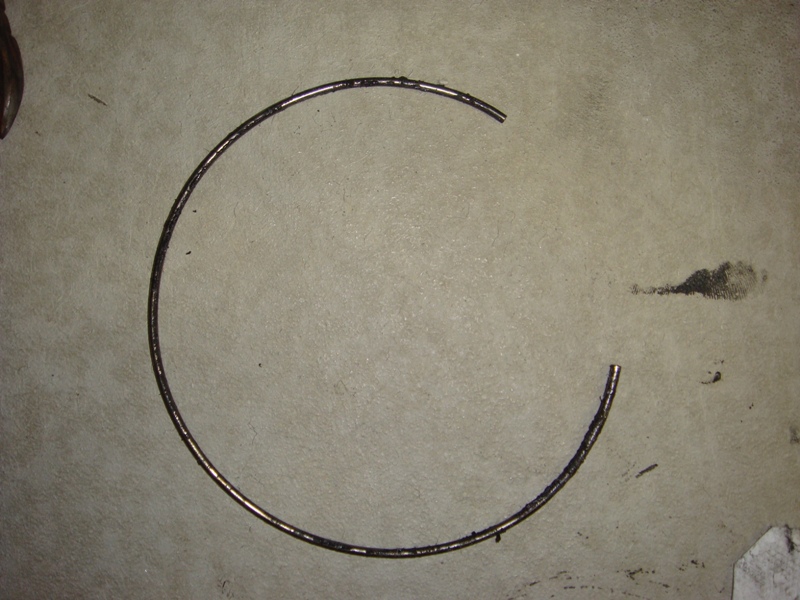
- Clean the top of the cylinder and using a small screw driver pop off the band that holds the lid on.
- Once the band (pictured above right) is off you should be able to pop off the lid by sticking a screw driver through the bottom of the cylinder and resting it on the inside of the top lid and tapping.
- This by far took us the most time as over a period of 90 years you can imagine the gunk had built up making it difficult to remove.
- We actually thought we broke it because we popped off the very top ring (not the band, the thing that the rod in the middle was riding on..
- Not sure if it's supposed to come off or not, but it did and went back on easily.
- With the lid off NOTE THE DIRECTION OF THE SPRINGS BEFORE REMOVING! Ours was clock wise on top and counter clockwise on bottom. (Our motor had two springs)
- Before pulling spring BE SURE TO NOTE THE DIRECTION OF THE SPRING.
- Pull the spring from the middle out (middle first)
- SAFETY NOTE: Probably best to wear gloves and eye protection as the springs are under pressure. (We are lazy and didn't do this.)
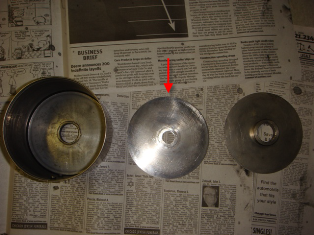
- Between the two springs there was a metal insert.
- The piece on the right is the lid
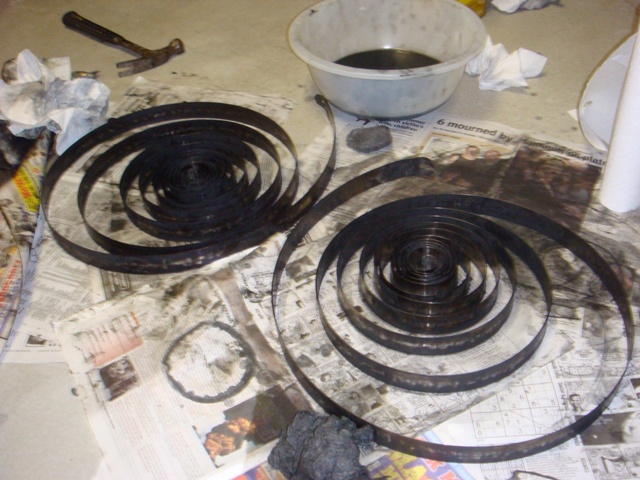
- The two springs after being taken out of the cylinder.
- To clean the springs we soaked them in paint thinner and wiped them down, removing the built up grease.
- In fact all the parts from the cylinder to the gears we soaked in paint thinner and removed the grease.
- There was built up gunk all over the parts. In some places we needed to use steel wool because it was so stubborn.